You’ve got the oven preheating to 400°F, the chicken tenders are ready on the sheet pan, and now you’re staring at the timer, wondering: how long do these actually need? The short, standard answer is 12 to 15 minutes. But if you just set a timer for 15 minutes and walk away, you’re playing chicken roulette. They might be perfect, but they could also be dry, undercooked, or uneven. After years of testing (and yes, a few dry batches), I’ve learned the exact time is a moving target. It depends on thickness, your oven’s quirks, and even whether you use a rack. Let’s break it down so you get crispy, juicy chicken tenders every single time.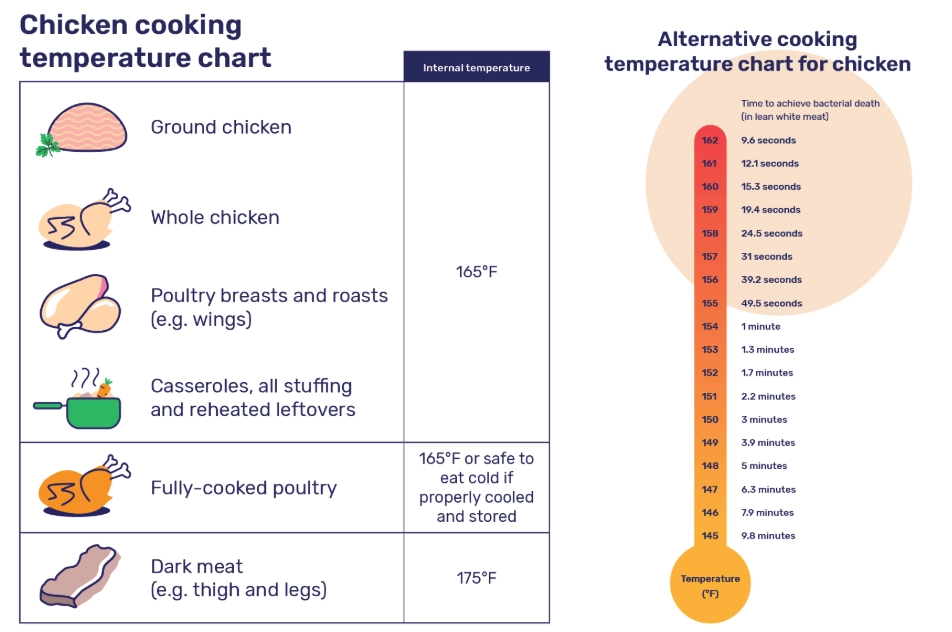
What You'll Find in This Guide
Why 400°F is the Ideal Baking Temperature
It’s not a random number. 400°F hits the perfect balance between efficiency and texture. Lower temperatures (like 350°F) cook too slowly, giving the chicken time to steam in its own juices on the pan, which can lead to a soggy exterior. Much higher (like 425°F or 450°F), and the outside risks burning before the interior reaches the safe temperature of 165°F.
At 400°F, you get a strong Maillard reaction—that’s the scientific term for the browning and crisping that creates deep, savory flavor. The heat is high enough to quickly render fat and evaporate surface moisture, setting up a crisp crust, while still allowing the interior to cook through without turning into rubber. It’s the Goldilocks zone for baked poultry.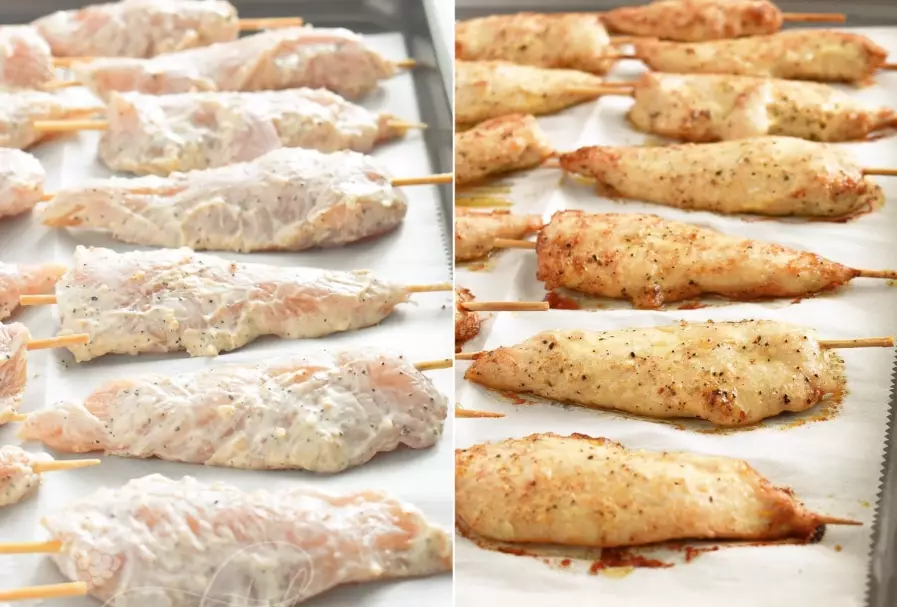
What Really Changes Your Baking Time at 400°F
Forget the one-size-fits-all timing. Here are the variables that actually matter, in order of importance:
1. Thickness and Size of the Tenders
This is the biggest factor. Grocery store chicken tenders can vary wildly. A plump, thick tender from a whole breast might weigh 3 ounces, while a skinny one could be half that. The thick ones need more time for heat to penetrate to the center.
I once made the mistake of tossing a mix of thick and thin tenders on the same pan. The small ones were hockey pucks by the time the big ones were done. Now I sort them. If they’re very uneven, I’ll even slice the thick ones in half lengthwise to create more uniform pieces.
2. Your Oven Type and Rack Position
Convection vs. conventional makes a difference. A convection oven, which uses a fan to circulate hot air, cooks faster and more evenly. If you’re using the convection setting, reduce the time by 2-3 minutes and check early. Also, always bake on the middle rack. The top rack can lead to excessive browning on top before the bottom crisps up.
3. To Use a Baking Rack or Not?
Placing the tenders on a wire rack set inside your sheet pan is a pro move. It allows hot air to circulate completely around each piece, promoting even browning and preventing the bottom from getting soggy. However, it can also slightly reduce cooking time because the heat transfer is more efficient. Without a rack, the bottom steams a bit, potentially adding a minute or two to get that crispness.
4. Starting Temperature of the Chicken
Are your tenders straight from the fridge or have they been sitting out for 15-20 minutes? Letting them come closer to room temperature ensures more even cooking. A cold-from-the-fridge center will take longer to reach 165°F, potentially overcooking the outside. I pull mine out when I start preheating the oven.
Here’s a quick reference table based on the most common scenarios:
| Chicken Tender Type / Scenario | Approx. Time at 400°F | Key Visual & Temp Cues |
|---|---|---|
| Average Store-Bought Tenders (about 1.5-2 oz each) | 12 - 15 minutes | Golden brown exterior, internal temp 165°F. |
| Plump, Homemade Tenders (cut from whole breast, 2.5-3 oz) | 15 - 18 minutes | Deep golden brown, check thickest part with thermometer. |
| Using a Baking/Wire Rack | On the lower end of the range (e.g., 12-14 min for average) | Will brown more evenly on all sides. |
| Using Convection Oven Setting | Reduce standard time by 2-4 minutes | Check at 10 minutes. Will cook faster. |
| Frozen, Unbreaded Tenders* | Add 5-8 minutes (approx. 18-22 min total) | Must reach 165°F internally. No pink juice. |
*Note: For frozen breaded or pre-cooked tenders, always follow package directions, as coatings and preparations vary widely.
Step-by-Step: Baking Chicken Tenders at 400°F
Let’s walk through the process, focusing on the cues, not just the clock.
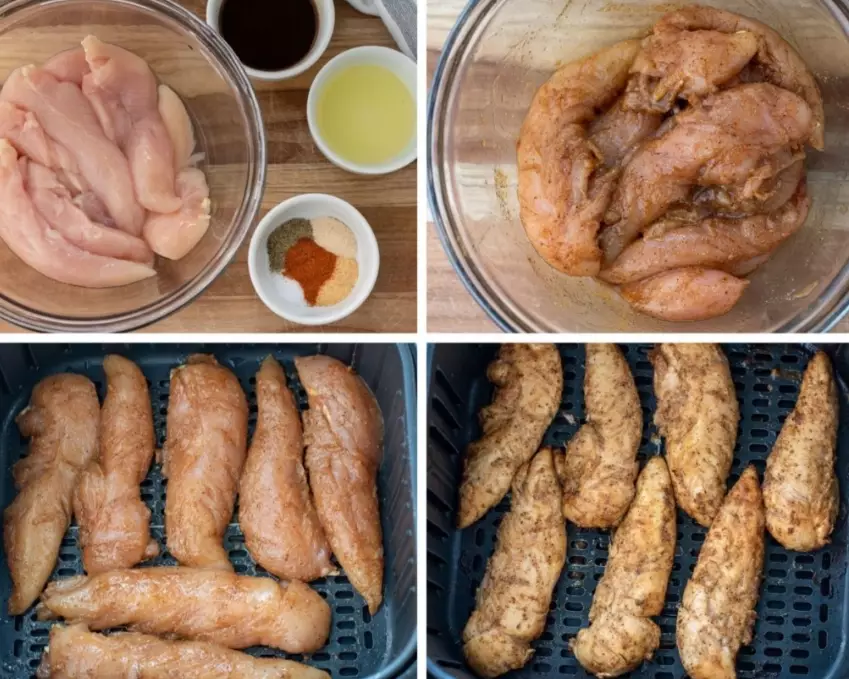
- Prep and Preheat: Pat your chicken tenders completely dry with paper towels. This is non-negotiable for good browning. Season generously. Preheat your oven to 400°F with the empty sheet pan inside. This preheats the pan, giving the tenders a sear from the moment they hit the surface.
- Arrange with Space: Carefully pull the hot pan out. Add a little oil. Place the tenders in a single layer with at least half an inch between them. Crowding steams them. If using a wire rack, place it on the pan first.
- The First Check: Set your timer for 10 minutes. At the 10-minute mark, open the oven and flip each tender with tongs. This ensures even browning on both sides. You should see noticeable browning already.
- The Final Stretch: Bake for another 2-5 minutes. Start checking at the 12-minute total mark. The only reliable way to know they’re done? A digital meat thermometer inserted into the thickest part should read 165°F. If you don’t have one, cut into the thickest tender—the juices should run clear, with no trace of pink.
- Rest: Let them rest on the pan for 3-5 minutes after pulling them out. This allows the juices, which have been driven to the center by the heat, to redistribute throughout the meat. Skip this, and those juices will run out on your plate, leaving the meat drier.
What About the Air Fryer?
Since air fryers are essentially powerful convection ovens, the time changes significantly. If you’re searching for “how long should chicken tenders be cooked at 400 degrees” for your air fryer, here’s the deal:
Air fry at 400°F for 8-12 minutes, shaking the basket or flipping halfway through. They cook much faster due to the intense, direct air circulation. Always check at 8 minutes. The same internal temperature rule applies: 165°F is your finish line.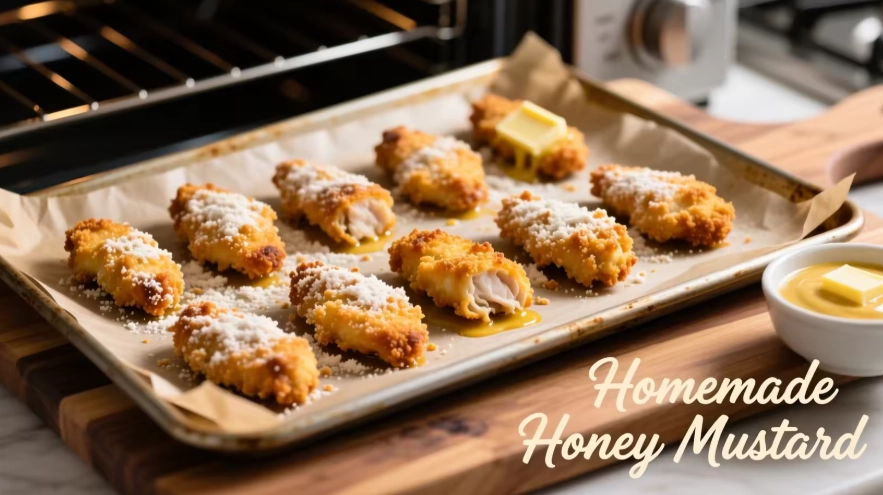
Your Chicken Tender Questions, Answered
Overcooking is the usual culprit, but it often happens because you're cooking to a color, not a temperature. A perfectly browned exterior can hide an overcooked interior. The fix: use a thermometer and pull them at 165°F, not a degree higher. Also, brining your tenders for 30 minutes in a saltwater solution (1/4 cup kosher salt per 4 cups water) makes them incredibly forgiving and juicy, even if you accidentally go a minute over.
You can, but you need to adjust. Place them frozen on the pan and add at least 5-8 minutes to the baking time. The challenge is the exterior can start to dry out before the icy center cooks through. To combat this, cover the pan loosely with foil for the first 10-12 minutes, then uncover to let them brown. A thermometer is absolutely essential here to ensure the center hits 165°F.
 Why are the bottoms of my baked chicken tenders soggy?
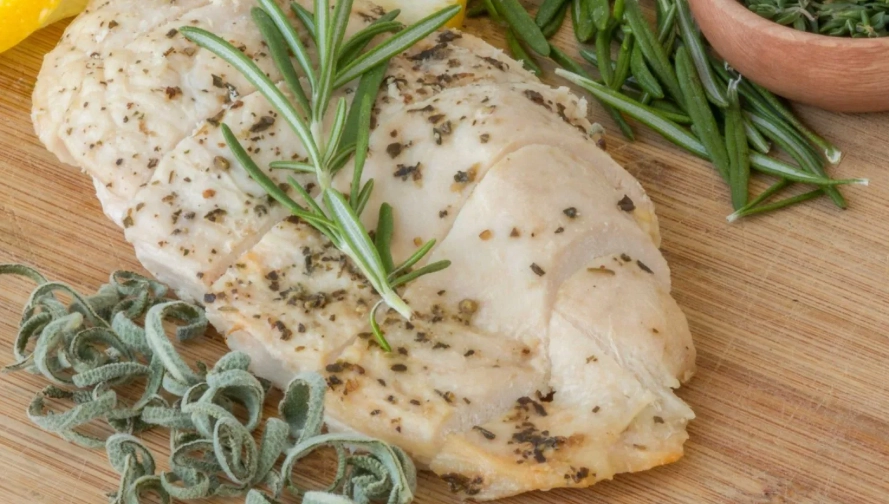
This is almost always due to moisture trapped underneath. Three solutions: 1) Use a wire baking rack. 2) Make sure you pat the tenders bone-dry before seasoning. 3) Don't overcrowd the pan. If they're touching, they'll steam each other. Giving them space lets that oven heat work its crisping magic on all sides.
A few tricks: Toss your dried tenders in a tablespoon or two of cornstarch or baking powder along with your seasonings. These powders help draw out moisture and promote browning. Using a preheated pan (as described in the steps) gives an immediate sear. Finally, a light spray or brush of oil right before they go in helps conduct heat and crisp the surface.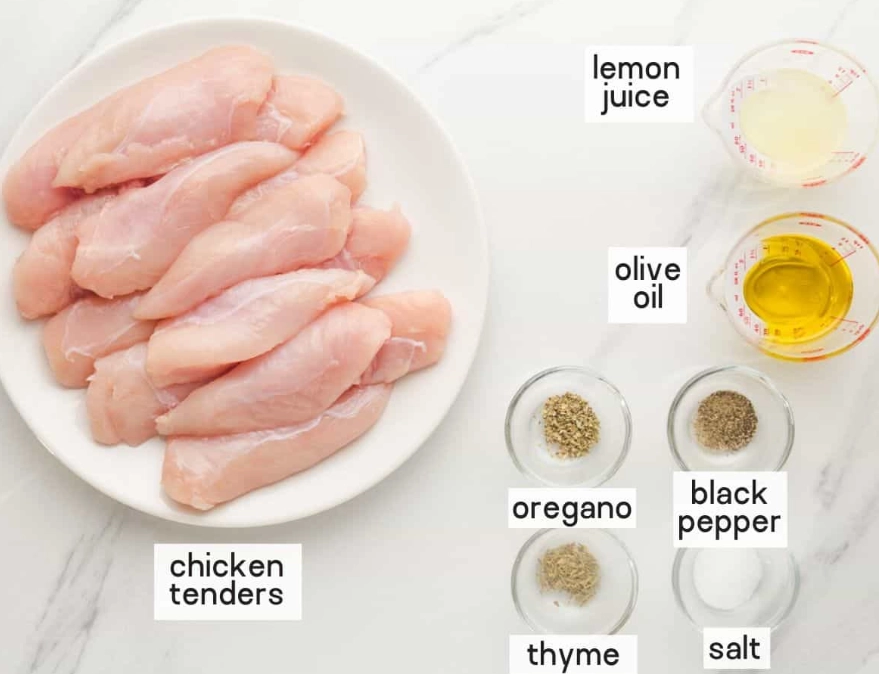
400°F is objectively better for texture if you want a crisp exterior. At 350°F, the cooking process is gentler and slower, which is fine if you're aiming for ultra-tender, fall-apart meat in a stew, but for a standalone tender you want to eat with your hands, the lower heat gives too much time for moisture to escape and doesn't create that desirable browned crust. 400°F gives you that crust while keeping the inside juicy.
 So, the next time you’re preheating to 400, remember: start with 12-15 minutes as your guide, but let the thermometer and the look of the chicken be your final judges. Sort your tenders by size, don’t crowd the pan, and let them rest. Do that, and you’ll move past wondering about the time to knowing exactly how to get perfect results every time.
Reader Comments