Let's be honest. Mornings are chaotic. The snooze button is a powerful enemy, and the idea of cooking a nutritious breakfast often loses out to grabbing a bar or skipping it altogether. That's where the magic of a vegetarian breakfast burrito meal prep comes in. I've been doing this for years, and it's the single biggest reason my weekday mornings are now calm and I actually eat a real breakfast. This isn't just about saving five minutes. It's about reclaiming your morning sanity and fueling your body with something delicious and substantial. In this guide, I'll walk you through my complete system, from the essential ingredients you need to a foolproof weekly plan and the expert tricks most beginners miss.
What's Inside This Guide?
Why Meal Prep Breakfast Burritos is a Game-Changer
Think of it as a gift from your Sunday self to your Monday-through-Friday self. You invest about 90 minutes once, and you get 5 days of effortless mornings. The benefits are real.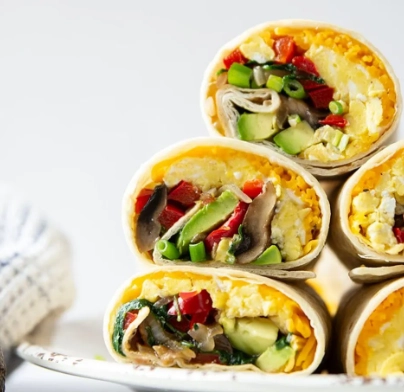
You save money instantly. Buying ingredients in bulk for a week of burritos is far cheaper than daily coffee shop runs or frozen convenience foods. You control exactly what goes in, meaning no hidden sugars, excessive sodium, or questionable preservatives.
From a nutrition standpoint, it's a powerhouse. A well-built vegetarian burrito delivers a balanced mix of complex carbs (from whole wheat tortillas or potatoes), plant-based protein (beans, tofu, eggs), healthy fats (avocado, cheese), and fiber (veggies, beans). This combo keeps you full for hours, stabilizes your energy, and supports the dietary guidelines for increased plant-based food intake recommended by sources like the USDA's MyPlate.
But the biggest win? Mental space. The decision fatigue of "what's for breakfast?" is eliminated. You just grab, heat, and go.
Essential Ingredients & Pantry Staples
You don't need a gourmet kitchen. Success here is about strategy, not exotic ingredients. Here’s your core shopping list, broken down by category.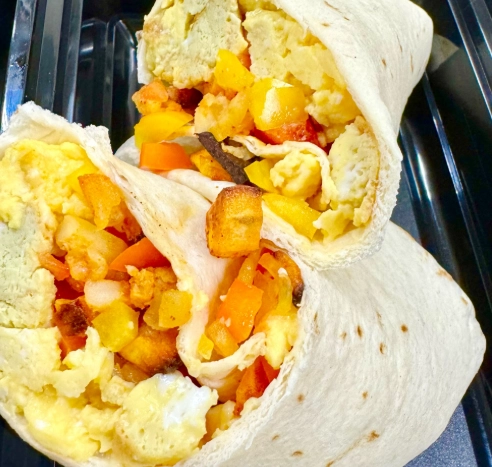
The Foundation: Wraps & Bases
Tortillas are key. The standard large burrito-size flour tortilla works, but they can get gummy when frozen and reheated. My non-negotiable tip? Seek out "XTREME Wellness" or similar high-fiber, low-carb tortillas. They have more structure, hold up better to moisture, and pack extra fiber. Whole wheat tortillas are another great option. Always check that they are pliable and not cracked before buying.
For the base filling, you need a sturdy, low-moisture ingredient to soak up flavors and provide texture. Diced and roasted potatoes or sweet potatoes are my top choice. They get crispy edges and won't turn to mush. Alternatively, cooked quinoa or brown rice works, but be sure it's thoroughly cooled and not wet.
The Protein & Veggie Powerhouse
This is where you get creative. The goal is to cook your veggies to remove as much water as possible.
- Beans: Canned black beans or pinto beans, rinsed and drained well. For a flavor boost, sauté them with a little cumin and garlic powder.
- Tofu: Extra-firm tofu, pressed to remove water, then crumbled and scrambled with turmeric, nutritional yeast, and a pinch of black salt (kala namak) for an "eggy" flavor.
- Eggs: If you eat them, scrambled eggs are classic. Cook them slowly until just set—they'll cook more when reheated.
- Veggies: Bell peppers, onions, mushrooms, spinach, kale. The trick? Sauté them over medium-high heat until they're softened and any liquid released has evaporated. No soggy veggies allowed.
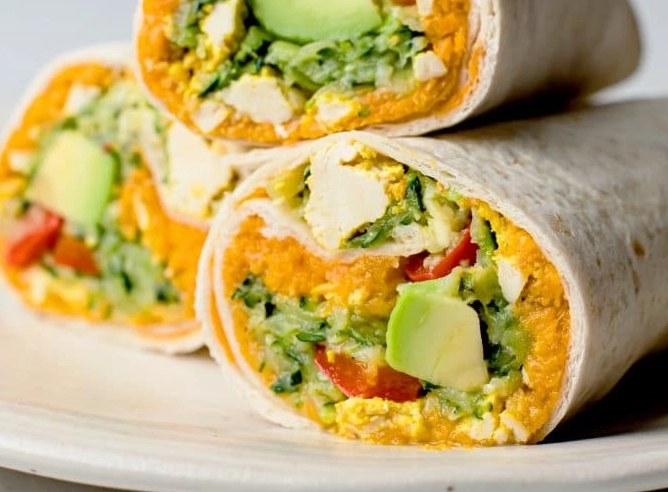
The Flavor & Texture Finishers
These elements prevent your burritos from tasting like a bland, uniform paste.
- Cheese: Shredded cheddar, Monterey Jack, or pepper jack. Cheese acts as a moisture barrier between the filling and tortilla.
- Sauces: Salsa, but be careful. Use thick, chunky salsa or pico de gallo, and drain excess liquid. Alternatively, mix a spoonful of Greek yogurt with lime juice and cilantro for a creamy, low-moisture sauce.
- Extras: Sliced olives, pickled jalapeños, a sprinkle of corn. Add these sparingly for bursts of flavor.
The Step-by-Step Prep Process
Here’s my Sunday ritual, optimized for efficiency. It feels like a small cooking project, not a chore.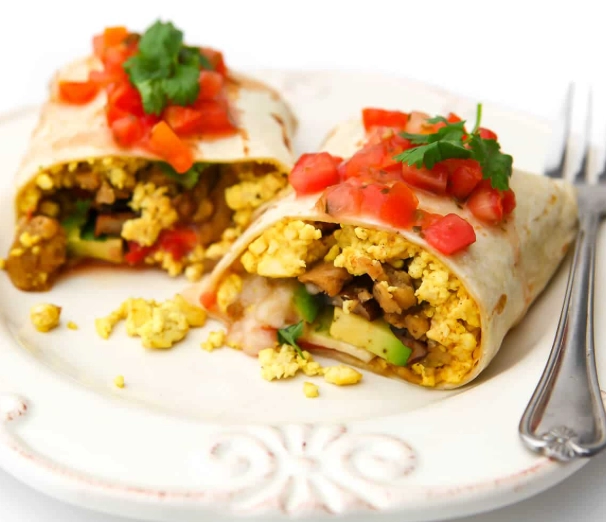
1. Prep & Cook All Components
I start my oven at 400°F (200°C) for the potatoes. While that heats, I dice my potatoes, toss them with oil and spices, and get them roasting (this takes 25-30 minutes).
Simultaneously, I get my largest skillet going. I sauté onions and peppers until soft and slightly caramelized, then add mushrooms or spinach. I push the veggies to the side, add my crumbled tofu with spices, and scramble it. In another small pan, I warm and season my beans. Everything gets spread out on baking sheets or large plates to cool. This concurrent cooking is the time-saver.
2. The Assembly Line
Clear a large workspace. Lay out tortillas. I lay down a piece of parchment paper about 12 inches long, place the tortilla on it, and then build. This makes wrapping and freezing seamless.
The assembly order matters: Cheese first. Sprinkle it in the center. This melts during reheating and helps "glue" the burrito. Then add your cooled potato base, followed by the protein/veggie mix, then any well-drained salsa or sauce. Don't overfill—about ¾ to 1 cup total filling is perfect.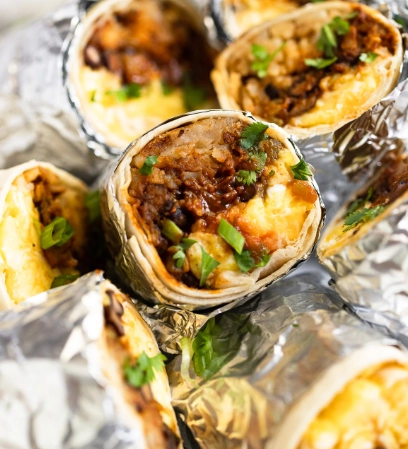
3. Wrapping for the Freezer
This is critical. Fold in the sides, then roll tightly from the bottom up. Once rolled, use the parchment paper to wrap it snugly, like a candy wrapper. Then place it seam-side down in a zip-top freezer bag, pressing out all the air. The double layer (parchment + bag) prevents freezer burn and lets you reheat directly in the parchment.
A Sample Weekly Vegetarian Burrito Meal Plan
To show you how this works in practice, here’s a plan for 5 distinct burritos. You can mix and match components to make a larger batch of one kind, but variety keeps it interesting.
| Burrito Style | Core Protein | Key Veggies & Base | Flavor Boosters | Best With (Add Fresh) |
|---|---|---|---|---|
| Southwest Black Bean | Black beans + 1 egg (optional) | Roasted sweet potato, corn, red bell pepper | Cumin, smoked paprika, chipotle hot sauce (drained) | Avocado slices, cilantro |
| Mediterranean Tofu Scramble | Turmeric-spiced tofu | Sautéed spinach, sun-dried tomatoes (oil-packed, chopped) | Dried oregano, kalamata olives, lemon zest | Dollop of tzatziki or hummus |
| "Everything" Potato & Egg | Scrambled eggs | Diced roasted russet potatoes, caramelized onions | Everything bagel seasoning, sharp cheddar cheese | Hot sauce or salsa verde |
| Green Power Kale & White Bean | Cannellini beans | Massaged kale, roasted broccoli, zucchini | Garlic powder, red pepper flakes, nutritional yeast | Fresh squeeze of lemon juice |
| Breakfast Taco-Inspired | Refried pinto beans (low-moisture) | Diced potatoes, sautéed poblano peppers | Queso fresco or cotija cheese, cilantro | Fresh pico de gallo |
Storage & Reheating: The Make-or-Break Details
Getting the reheat right is what separates a delicious burrito from a soggy, disappointing one. Most people just microwave it and wonder why it's wet.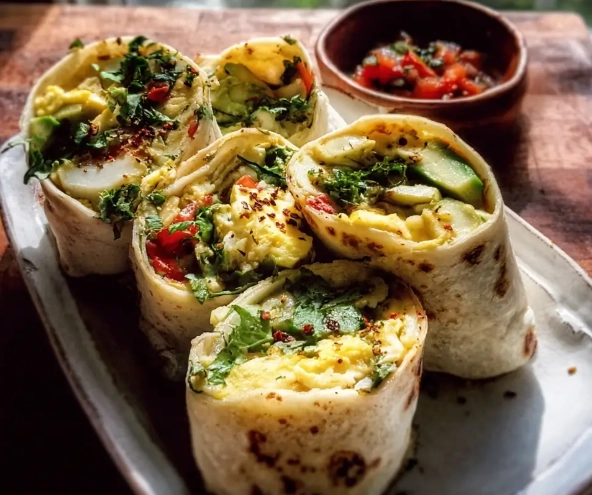
From the Freezer to Your Plate
Method 1 (Best Texture): Oven/Toaster Oven. Do not thaw. Place the parchment-wrapped burrito directly on the oven rack. Bake at 375°F (190°C) for 25-35 minutes, flipping halfway. The parchment protects it, and the dry heat crisps the tortilla perfectly.
Method 2 (Fastest): Microwave + Skillet. This is my weekday go-to. Remove the burrito from the freezer bag but keep it in the parchment. Microwave on high for 1 minute 30 seconds to thaw the center. Then, carefully unwrap it and place it seam-side down in a hot, dry non-stick skillet over medium heat. Toast for 1-2 minutes per side until golden and crisp. This combo gives you a hot interior and a crispy exterior.
Storage Life: In a proper airtight bag, they last 2-3 months in the freezer. I wouldn't recommend fridge storage for more than 3 days, as the tortilla can still get soggy.
Reader Comments